How the Supercharger started
For many years we have been used to the dirty, smelly gas stations, hell, some of us even liked the gas smell, but at the beginning of 2012, Tesla changed the game forever. Tesla introduced an alternative to an Industry that hasn’t seen any innovation for years.
Tesla Supercharger is an elegant charging station for all the Tesla cars. They are not just super fast and reliable, but also Aesthetically pleasing.
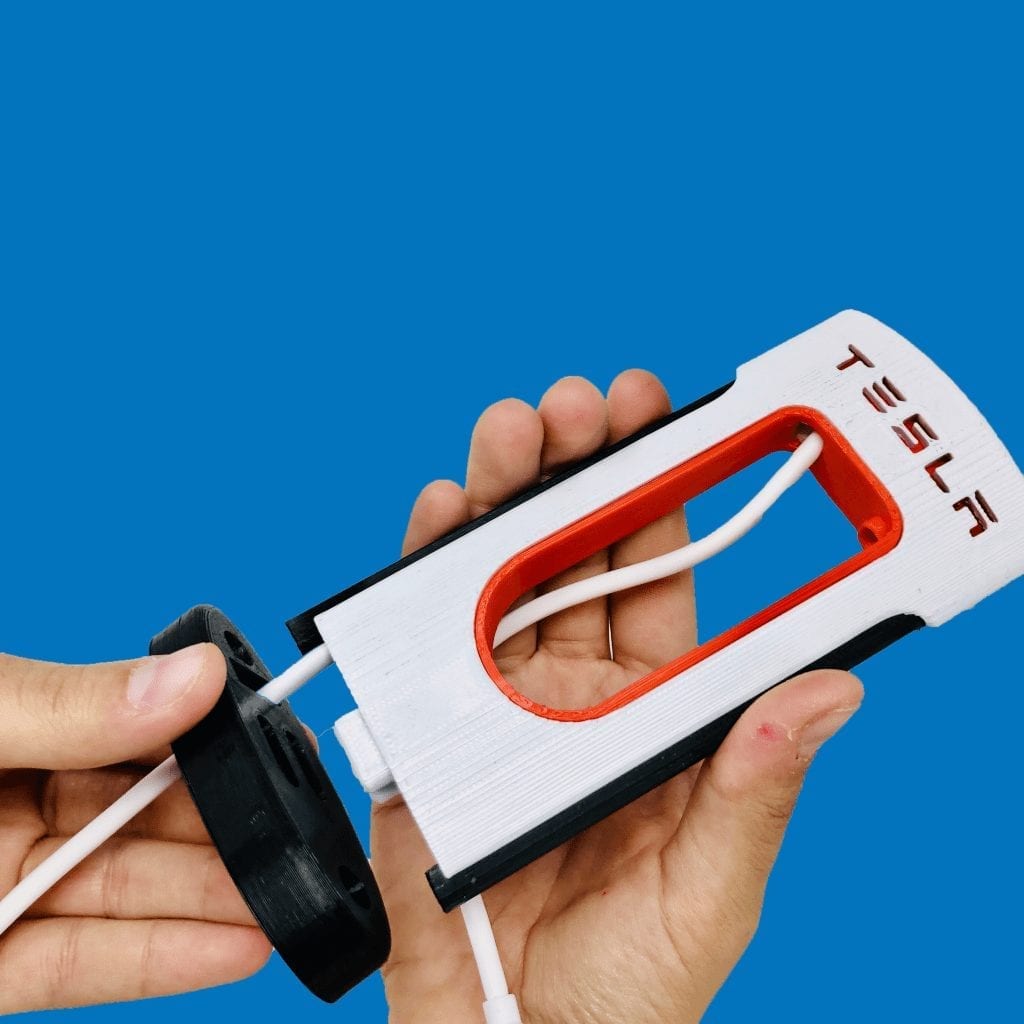
They have been designed so elegantly that a lot of us love to have one of them in our living room, however, if your living room is small as our living room then you need a mini version, so why not a Supercharger for your phone?
That’s why in 2014, Martin Hansen from Germany, decided to design and 3D Print a supercharger for his phone which he then decided to share with the rest of the world.
Download the 3D file for Free
Since then, many designers have made their own version of the Phone Supercharger inspired by the Tesla Supercharger, so we decided to make our own as well and share it with the world. If you have a 3D Printer, you can download the file for free and make one yourself, but if you don’t have a 3D Printer don’t worry we’ve already printed one for you, check it out here!
Download Now >

Making a Supercharger
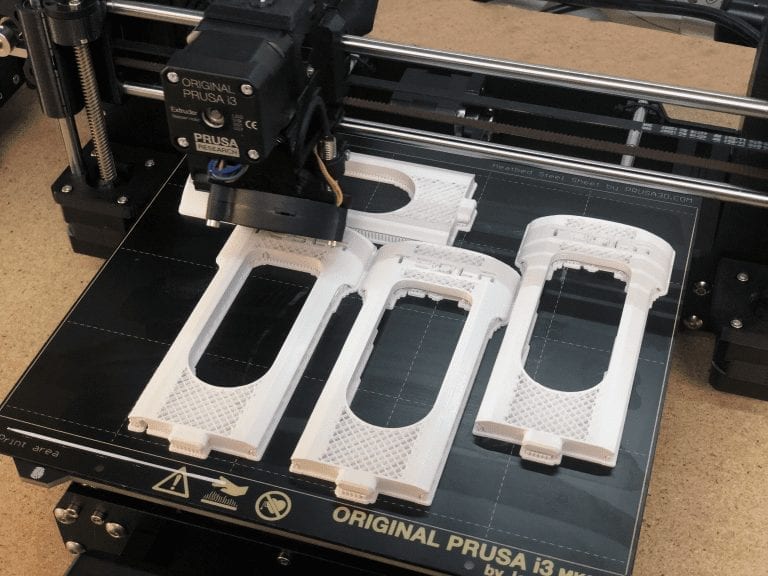
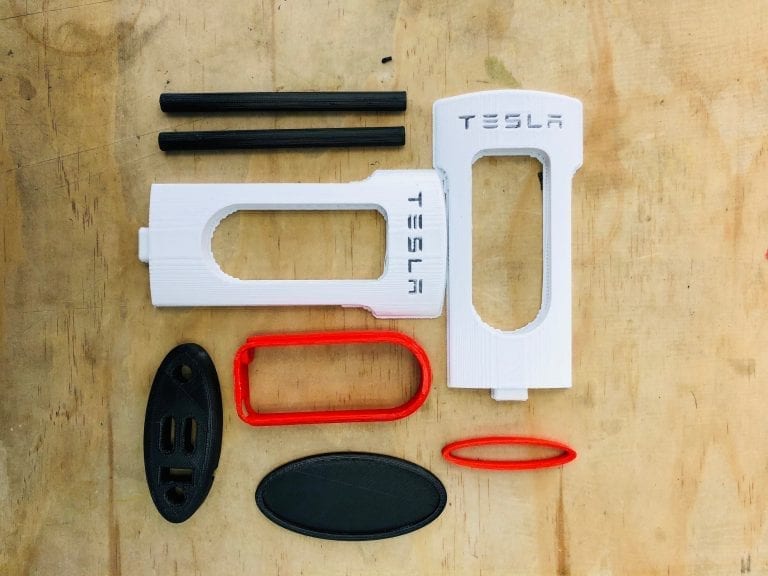
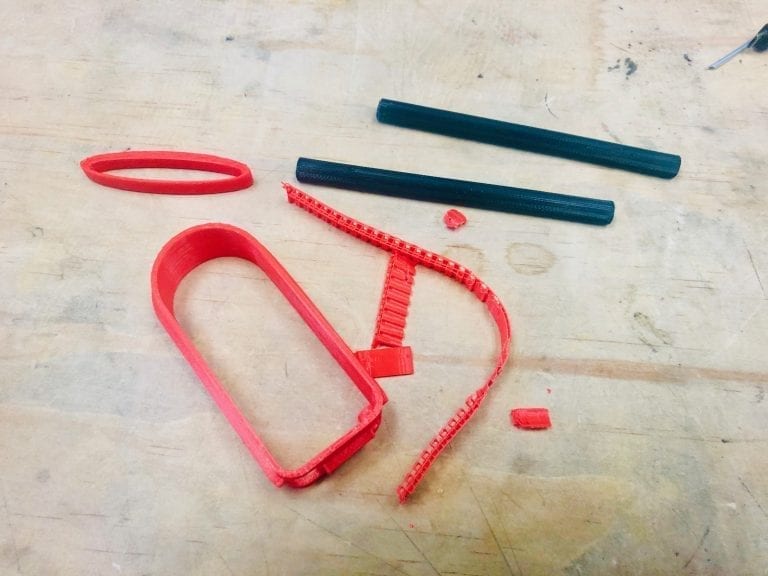
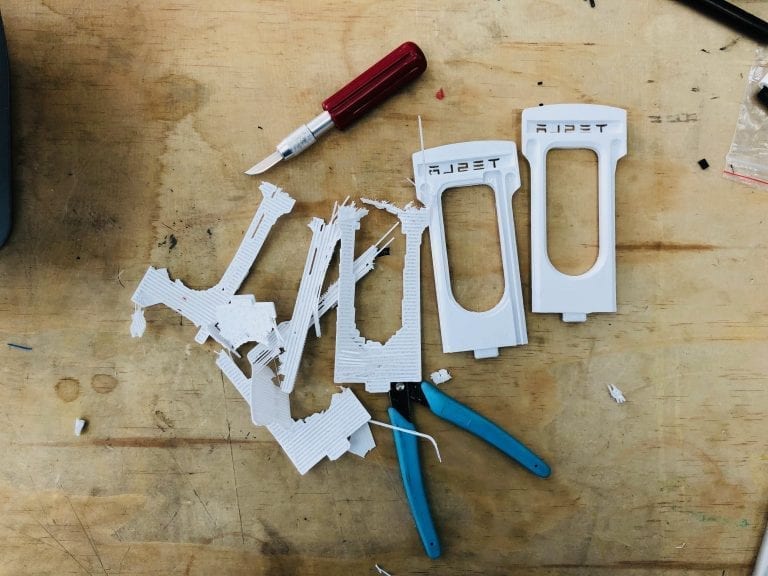
The Phone Supercharger is made out of eight 3D printed parts which takes about 17 hour to print. After that it takes at least 20 min to remove the support, clean and assemble a Supercharger.
I want to Buy a supercharger
You can buy a supercharger directly from our eBay shop.
How to assemble a Supercharger
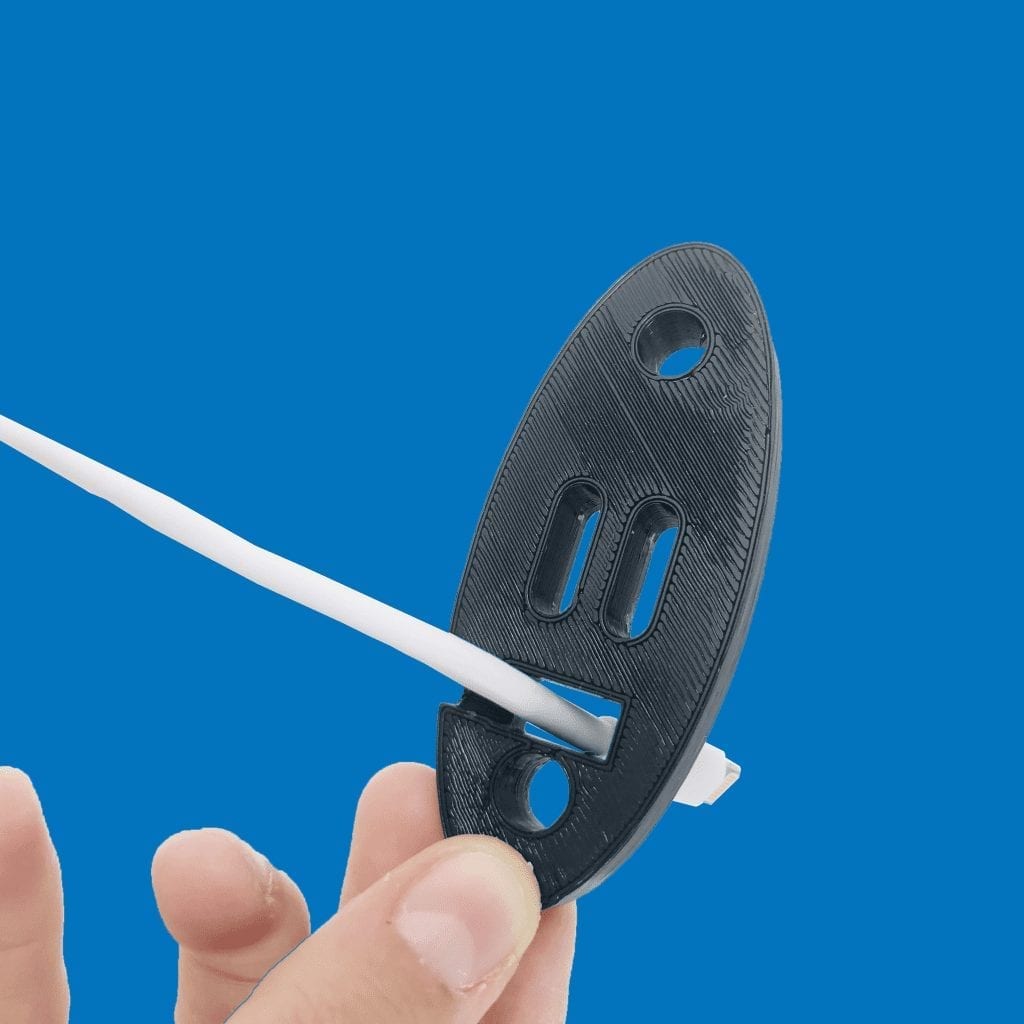
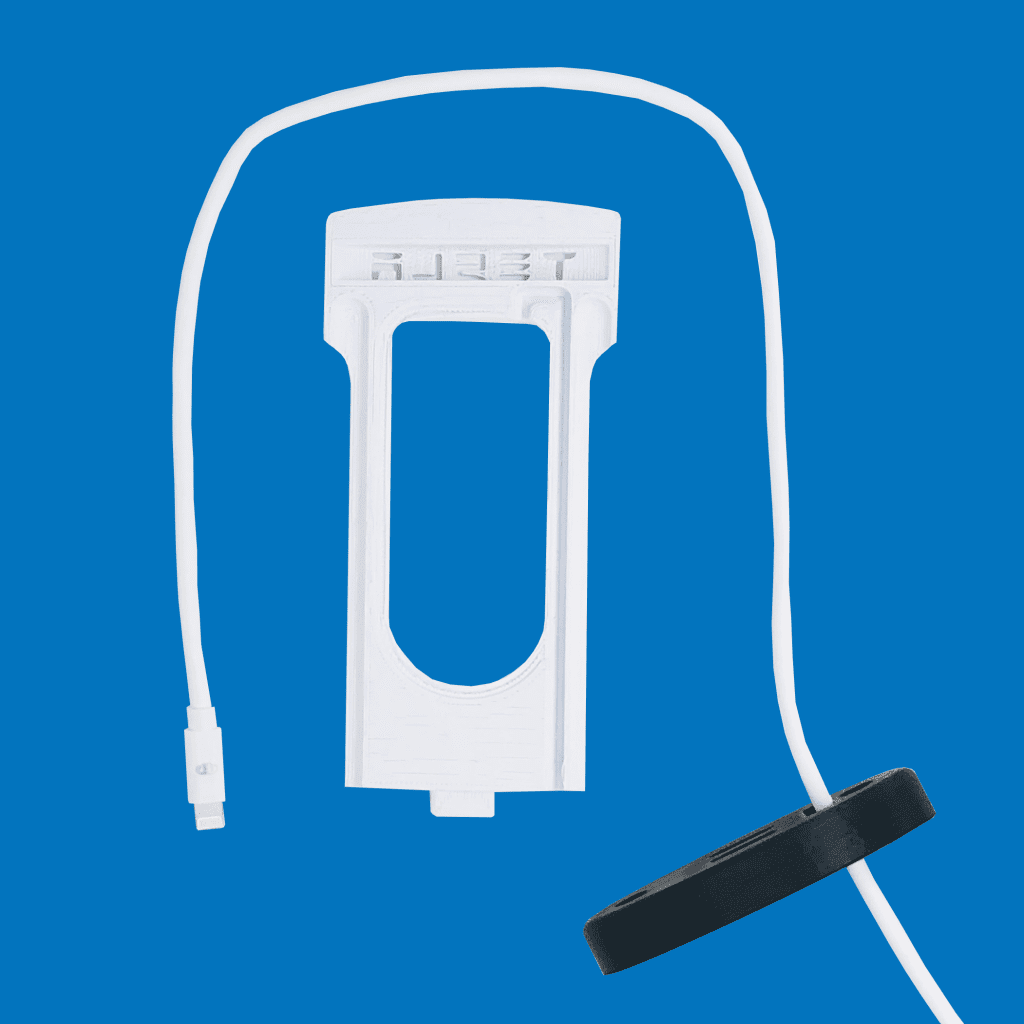
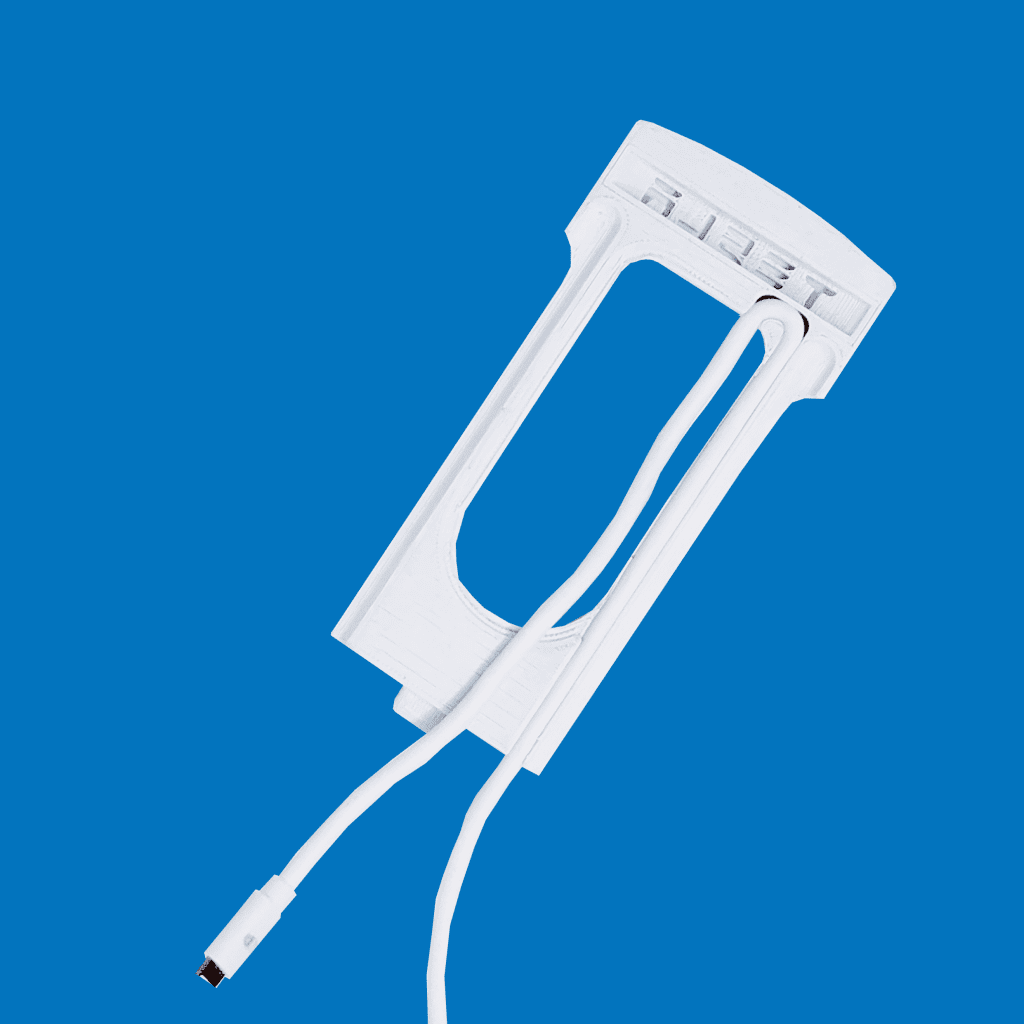
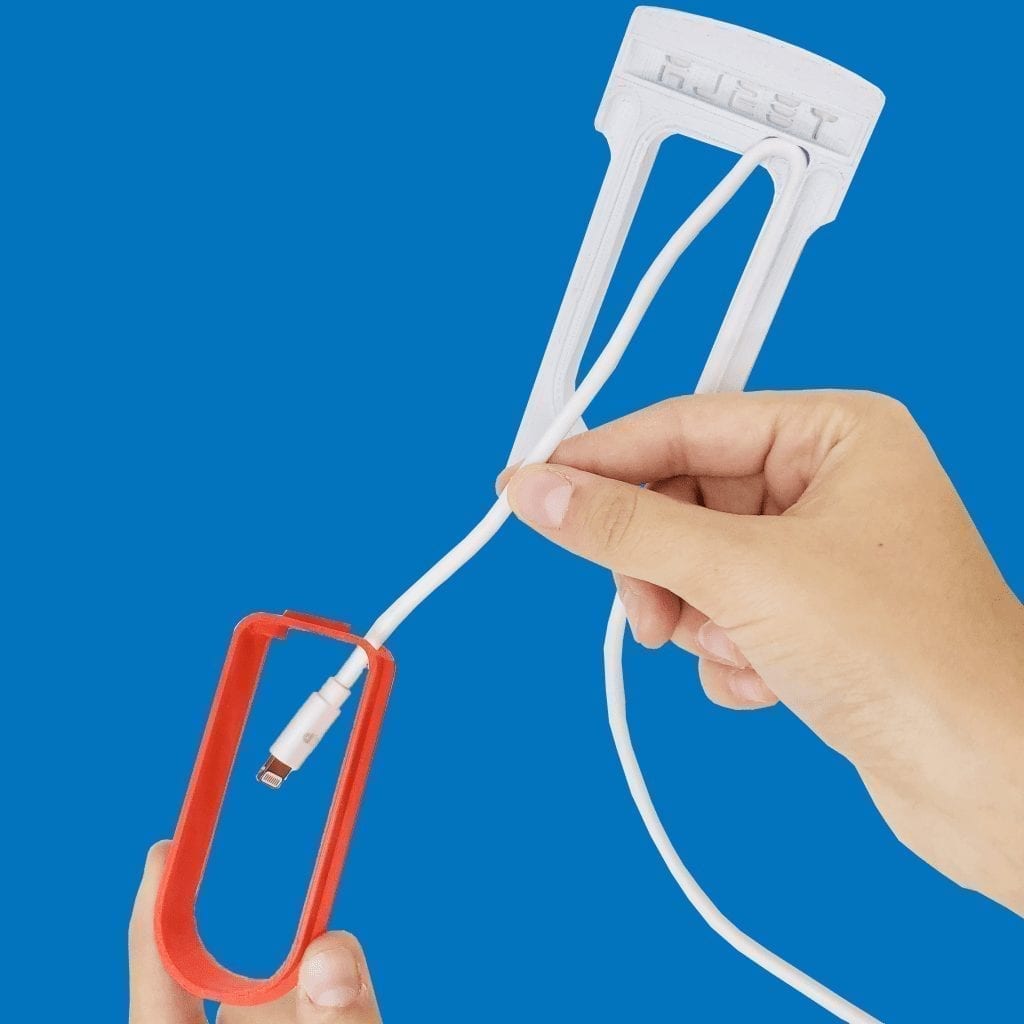
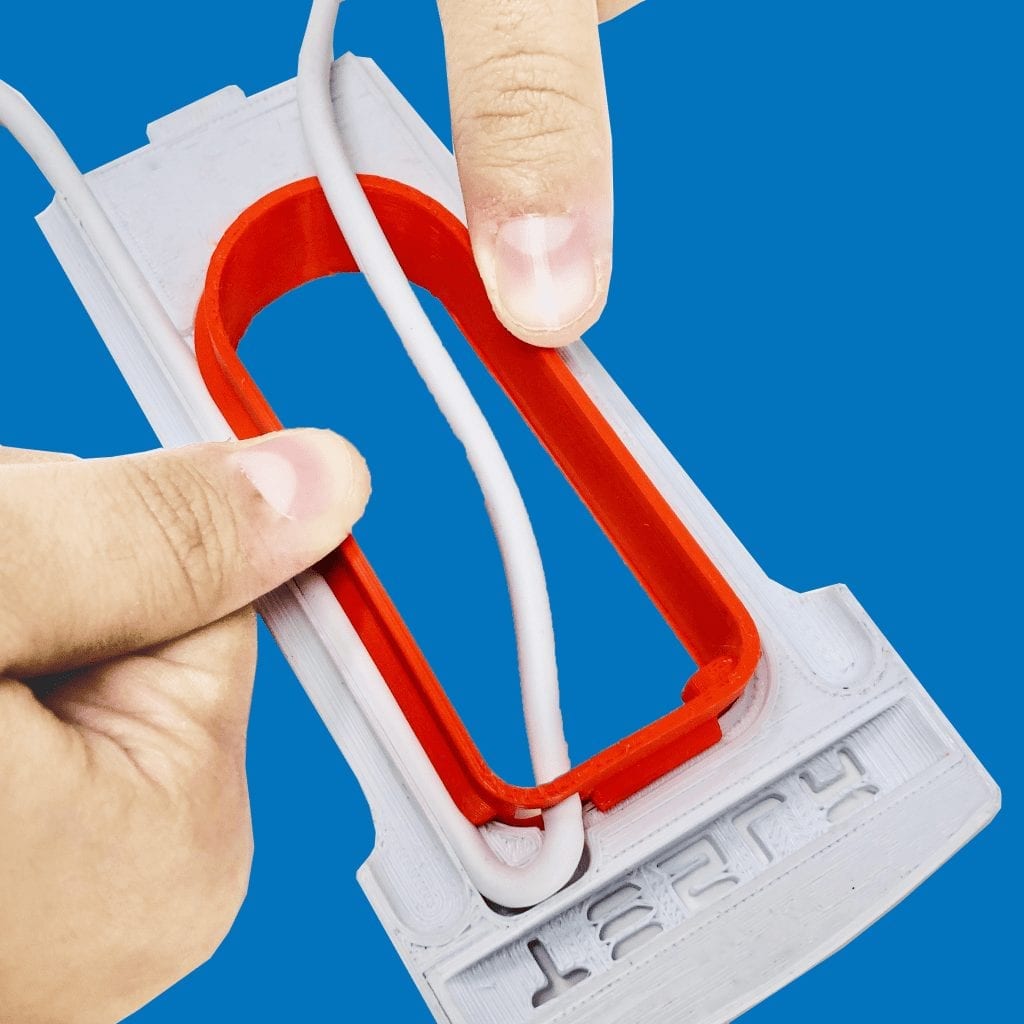
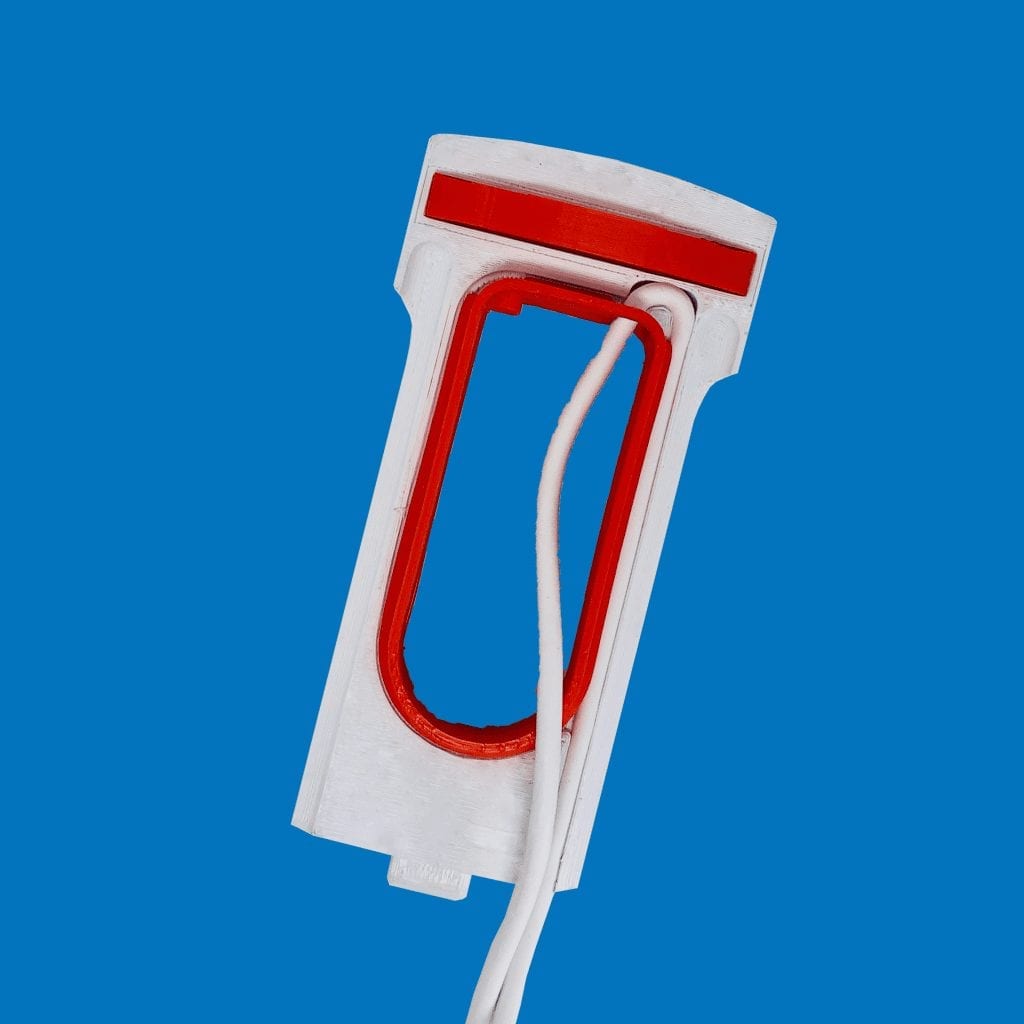
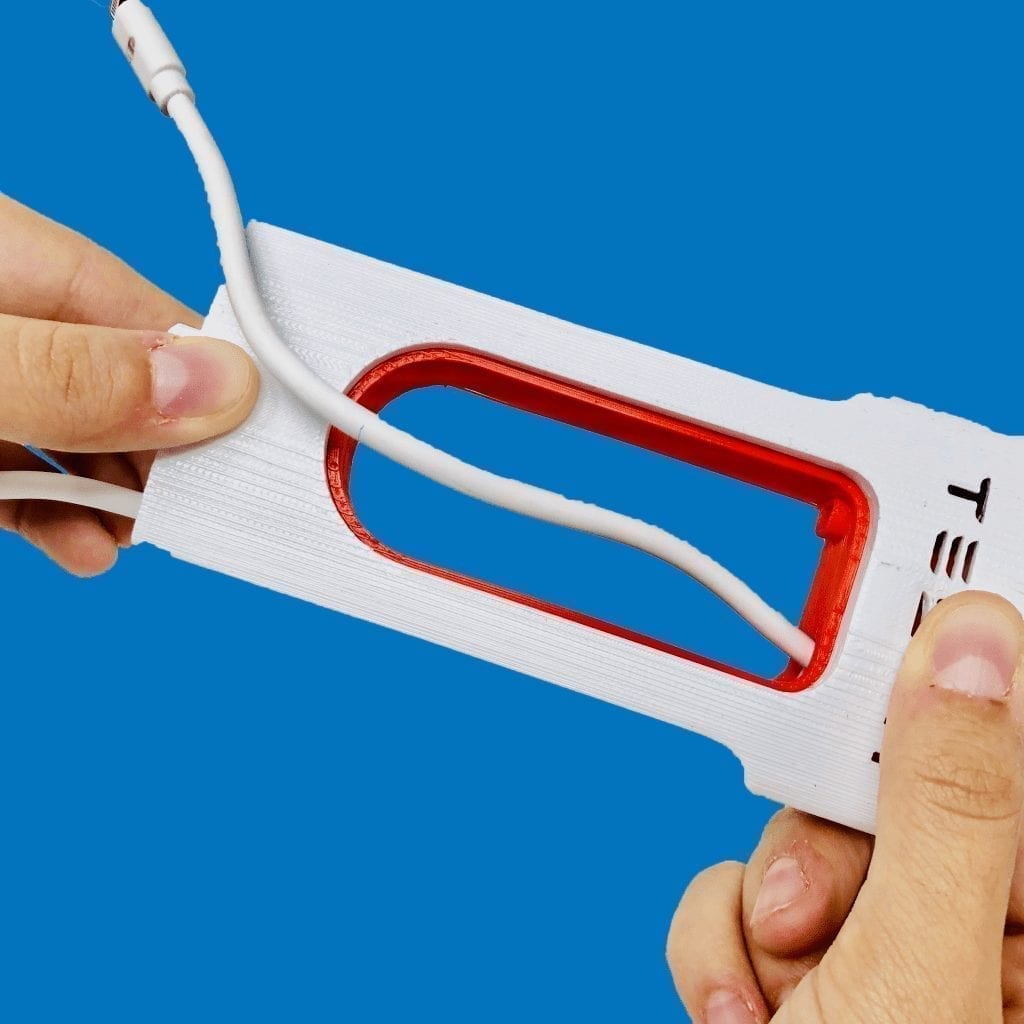
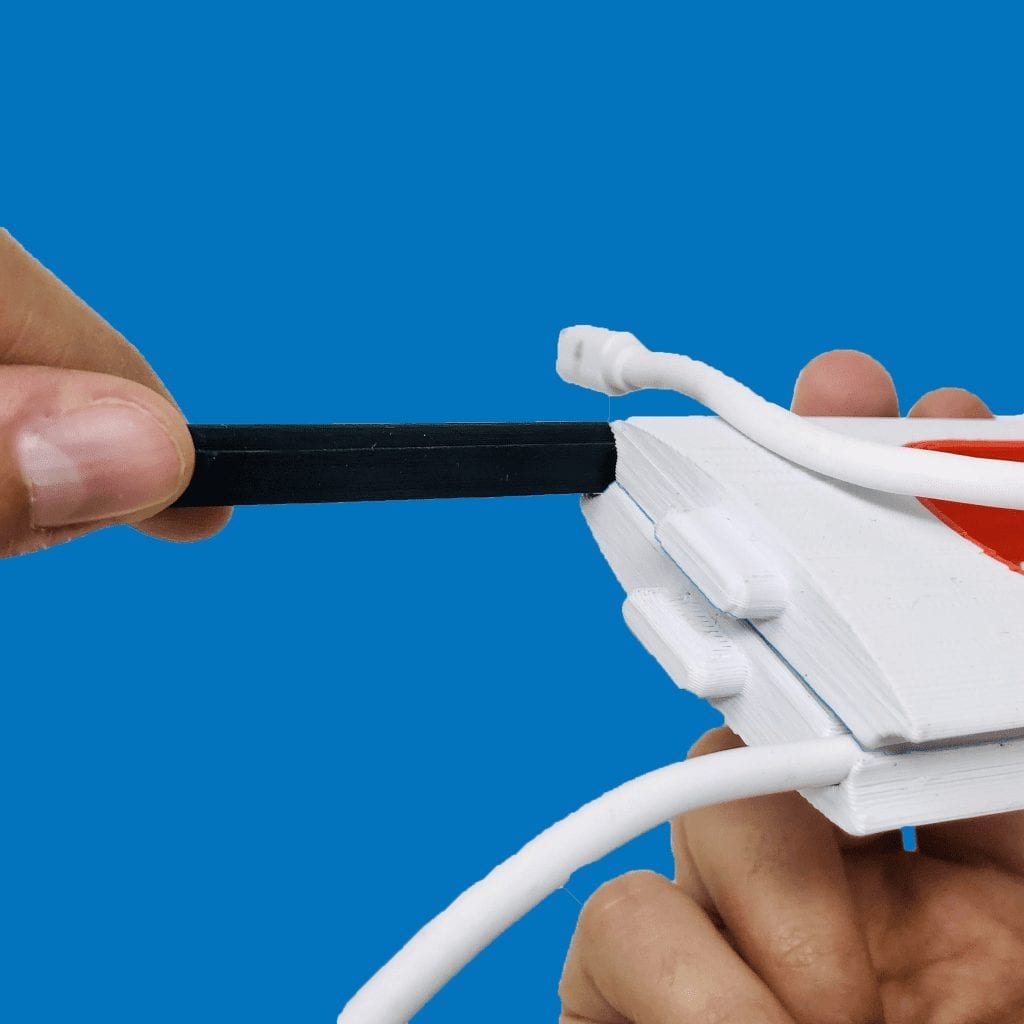
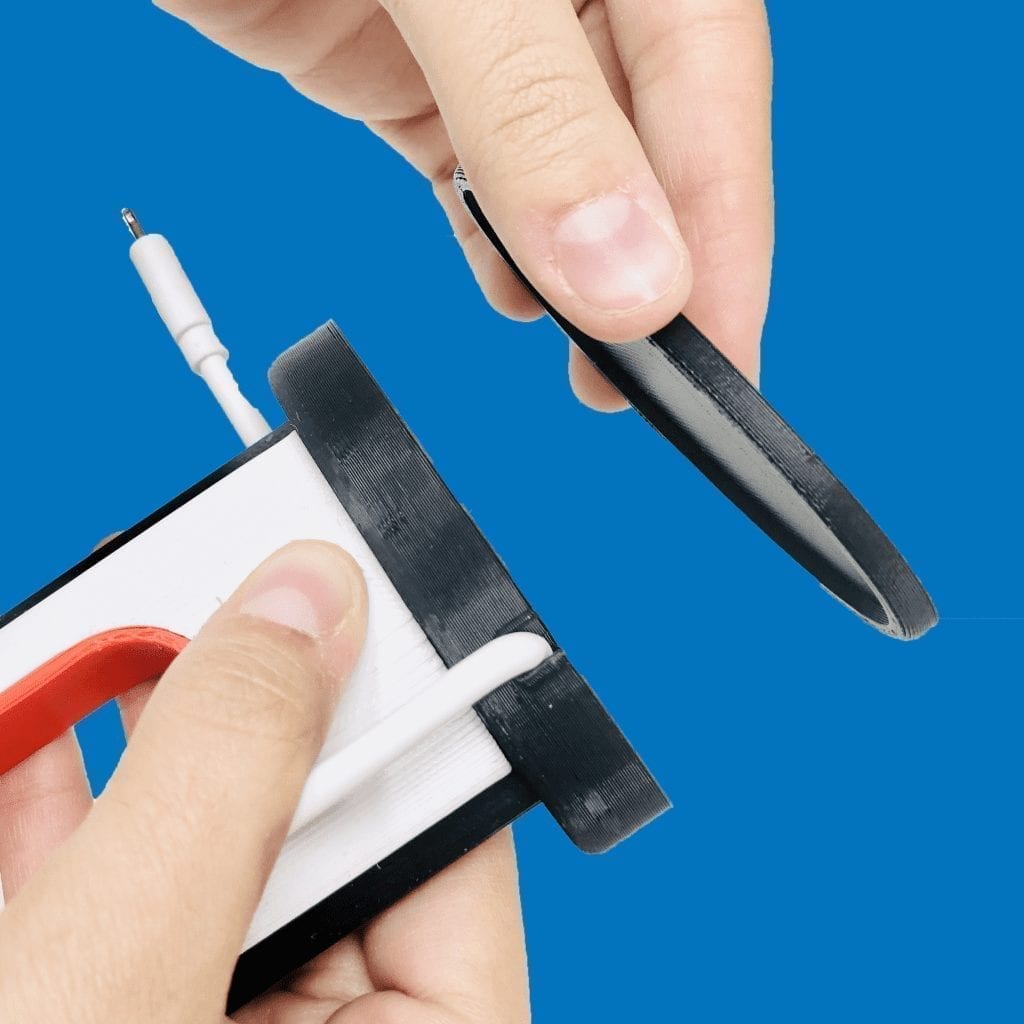
Assembling the Supercharger is a Fun and easy task. If you like making Lego you will love assembling it. We Recommend you challenge yourself first by trying to assemble the Supercharger without using the assembly guide.








You must be logged in to post a comment.